
The yard came with the house: roughly a quarter acre that sloped toward the back fence, drained badly, and held one tired patch of lawn that turned to soup every spring. The owners, a couple in their late thirties with two kids and a dog, wanted a space they would actually use after dinner. Their goal was modest in words and ambitious in scope. They wanted a flat place to eat, a fire feature, planting that looked intentional, and enough light to keep the party going past sunset.
They set a budget of $25,000 and a timeline of one spring-to-fall season. That number is a real working figure for a mid-size backyard transformation in much of the country, somewhere between a weekend patio kit and a six-figure resort build. I walked the property with them before the first shovel went in, and the thing I kept saying was that the dollars they spent on dirt they would never see would matter more than the dollars they spent on the things they would.
Here is how the project broke down, phase by phase, with honest numbers and a few things they would do differently if they started over.
The Yard Before: A Pretty Problem
The lot looked fine from the back door and fell apart on closer inspection. The grade ran the wrong way, pushing water toward the foundation instead of away from it. A old silver maple near the corner had heaved a section of the side path and was dropping limbs onto the neighbor's shed.
That tree was the first real decision. Removing a large hardwood is not cheap, and the couple debated keeping it for shade. In the end the lean and the root damage made the call for them. If you are weighing a similar choice, our breakdown of what tree removal actually costs is a fair place to set expectations before you get a single quote.
The takeaway from the walk-through was simple. This was a drainage and grading project wearing the costume of a landscaping project. Skip the unglamorous part and the patio cracks, the plants drown, and you are paying twice.
Setting the Plan and the Priorities
We sat down with a sketch, not a software rendering, and ranked everything by how much daily use it would buy per dollar. The patio and the lighting rose to the top because those were the features the family would touch every single evening. The fancier ideas, an outdoor kitchen and a water feature, dropped off the list fast once we priced them honestly.
The plan settled into five phases: clear and grade, hardscape (patio plus a low retaining wall), fencing, planting, then lighting and irrigation last. Doing them in that order matters. You do not want to trench for low-voltage cable through a bed you just planted, and you do not want to set pavers on ground that has not been graded and compacted.
Rough-in the boring systems before the pretty layers go on top. Run irrigation lines and lighting conduit during the grading phase, while the soil is already open, even if you will not connect fixtures until the end. Retrofitting later means cutting into finished beds and patios, which is where surprise costs live.
Phase by Phase, What Each Step Cost
Clearing, tree removal, and grading
The first dollars did the least visible work. Removing the maple, hauling debris, regrading the back third of the yard for positive drainage, and adding a simple gravel French drain along the low side ate up a meaningful chunk before anything looked better. This is the phase homeowners most want to cut, and the one I would protect first.
Hardscape: patio and a low wall
A 320 square foot concrete paver patio became the anchor. They chose a mid-grade tumbled paver over natural stone, which saved a few thousand dollars and, honestly, no guest has ever noticed. A short retaining wall, about 18 inches tall, held back the regraded slope and doubled as casual seating.
Fence, planting, lighting, and irrigation
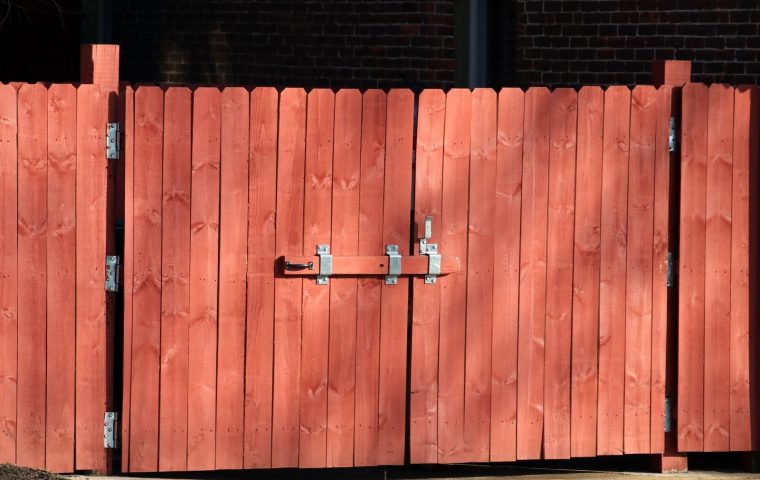
A new six-foot cedar privacy fence ran along two sides. Planting was deliberately layered: a few specimen shrubs, a row of fast-growing privacy trees, perennials for the kids to watch change, and fresh sod for the play zone. The final phase, low-voltage path and uplighting plus a four-zone drip and spray irrigation system, is the one that surprised them most in the best way. If you are pricing that last layer, our guide to outdoor lighting and irrigation costs mirrors almost exactly what they paid.
| Line item | Cost |
|---|---|
| Tree removal (large maple) and debris haul | $2,100 |
| Grading, drainage, and French drain | $3,200 |
| Paver patio, 320 sq ft, mid-grade | $5,800 |
| Low retaining wall and seat cap | $2,400 |
| Cedar privacy fence, two sides | $3,600 |
| Plantings (shrubs, privacy trees, perennials) | $2,700 |
| Sod for play and lawn zone | $900 |
| Low-voltage landscape lighting | $1,900 |
| Drip and spray irrigation, four zones | $1,600 |
| Gas fire bowl and gravel surround | $1,400 |
| Permits, dump fees, and contingency | $700 |
| Total | $24,300 |
They came in just under budget, which almost never happens, and it happened only because they cut the outdoor kitchen early instead of chasing it and running out of money before the planting went in.
Where the Money Actually Earned Its Keep
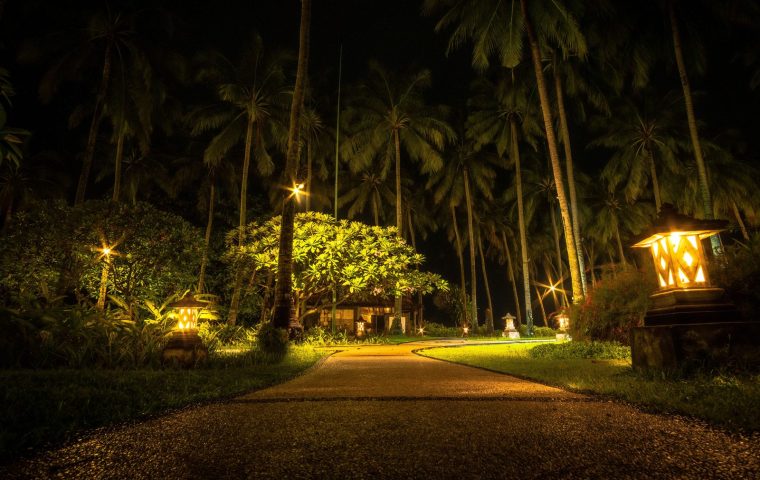
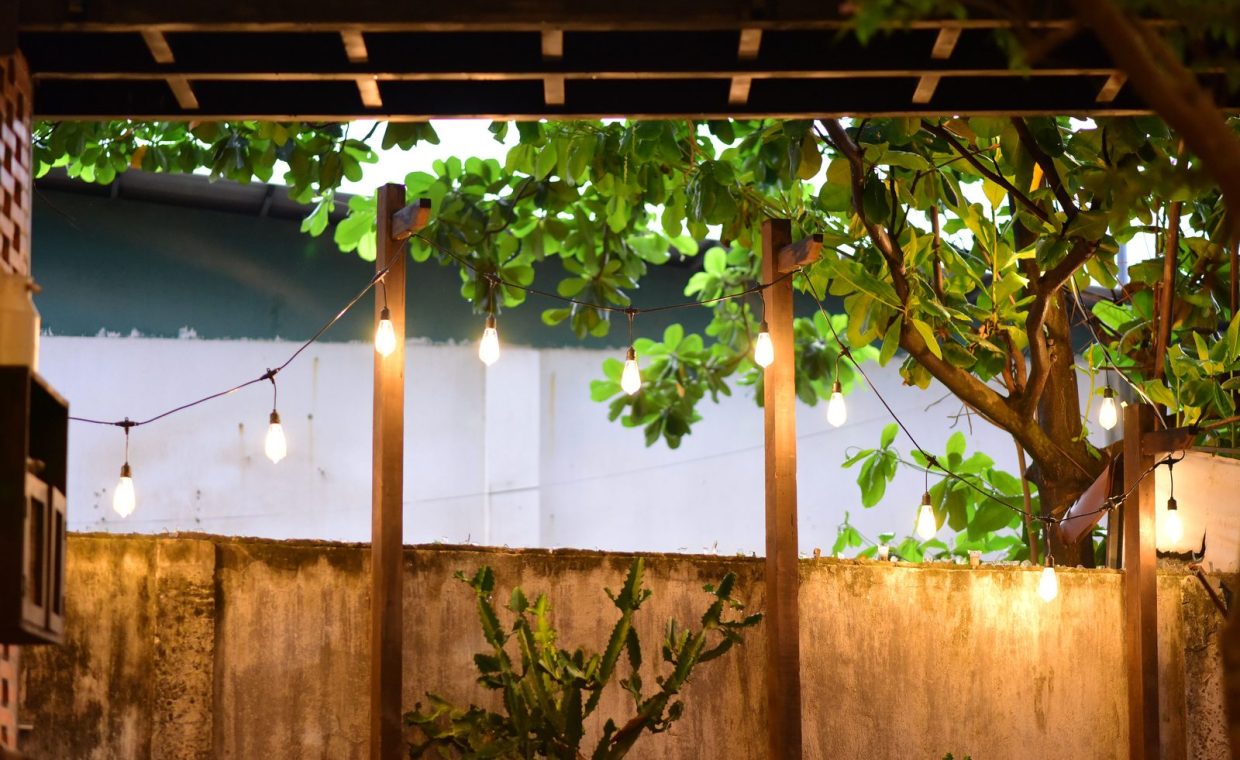
The lighting was the single best line item, and it was nowhere near the most expensive. For under $2,000, a handful of path lights and three uplights aimed at the fence and the specimen shrubs turned the yard into a place that felt finished at night. The couple told me they use the space more after dark now than during the day.
The patio earned its cost simply by being big enough. We sized it for a full table plus circulation, not the bare minimum, and that extra 60 or so square feet is the difference between a patio you eat on and a patio you live on. Going one size up on hardscape is rarely a regret.
The fire bowl punched above its $1,400 weight too. It is a simple gas bowl on a gravel pad, not a built-in masonry fireplace that would have cost five times as much, and it does ninety percent of the job for a fraction of the price.
Where Dollars Got Wasted (and Where They Saved)
Not everything landed. They spent on a few large specimen perennials for instant impact, and within two seasons the cheaper one-gallon plants nearby had caught up and looked just as full. Buying small and waiting one extra year would have saved several hundred dollars with no lasting difference.
The smartest save was sweat equity in the right spot. They spread their own mulch and planted the perennials themselves over two weekends, which trimmed labor without touching the parts that actually needed a pro, the grading and the patio base. Those two should almost never be DIY, because a bad base telegraphs through everything you build on it.
Spend first on the invisible work: grading, drainage, and a properly compacted base. Size your patio one notch larger than the minimum. Treat lighting as a high-value finish, not an afterthought, because it doubles the hours you use the yard. Buy plants small, save your labor for mulching and planting, and hire out the structural phases. The features that get used daily deserve the budget; the showpieces you will photograph once do not.
What They Would Do Differently
Two changes, both about timing. First, they would have run a spare conduit under the patio for future power, since they now want a string-light post and a small fountain pump and have no easy way to feed them. An empty pipe costs almost nothing during construction and a small fortune to add later.
Second, they would have phased the planting across two seasons rather than buying everything at once. Spreading plant purchases lets you watch how light and water actually move through the finished yard before you commit, and it softens the single biggest variable-cost line.
One thing they got exactly right was documenting the whole job with dated photos and saved invoices. That habit pays off well beyond bragging rights. If a storm or a contractor dispute ever puts you in a claims conversation, organized records change the outcome, as the homeowner in our storm and roof insurance case study learned the hard way.
Is $25,000 a realistic budget for a full backyard transformation?
For a mid-size yard of roughly a quarter acre, yes, if you prioritize. That figure comfortably covers grading, a paver patio, fencing, layered planting, and lighting when you skip high-cost extras like an outdoor kitchen or a masonry fireplace. Larger lots, extensive hardscape, or premium materials can push the same scope toward $40,000 or more.
What part of a backyard project should I never cut to save money?
The grading, drainage, and patio base. They are invisible once finished, so they feel skippable, but they protect everything built on top. A patio set on poorly prepared ground heaves and cracks, and a yard that drains toward the house invites foundation problems. Save on plants and decorative finishes instead.
Does landscape lighting really add that much value?
For the cost, it is hard to beat. A low-voltage system of path lights and a few uplights typically runs $1,500 to $2,500 installed and roughly doubles the hours you can use the space. It also flatters the planting and hardscape you already paid for, which is why I treat it as a core feature rather than an add-on.
A year on, the yard does the one thing they asked for: it gets used. Dinner outside, kids on the lawn, neighbors around the fire bowl until the path lights are the only thing still glowing. The lesson worth carrying into your own plan is that a great backyard is mostly good decisions made in the right order, and the most important ones are the ones you will never actually see.