
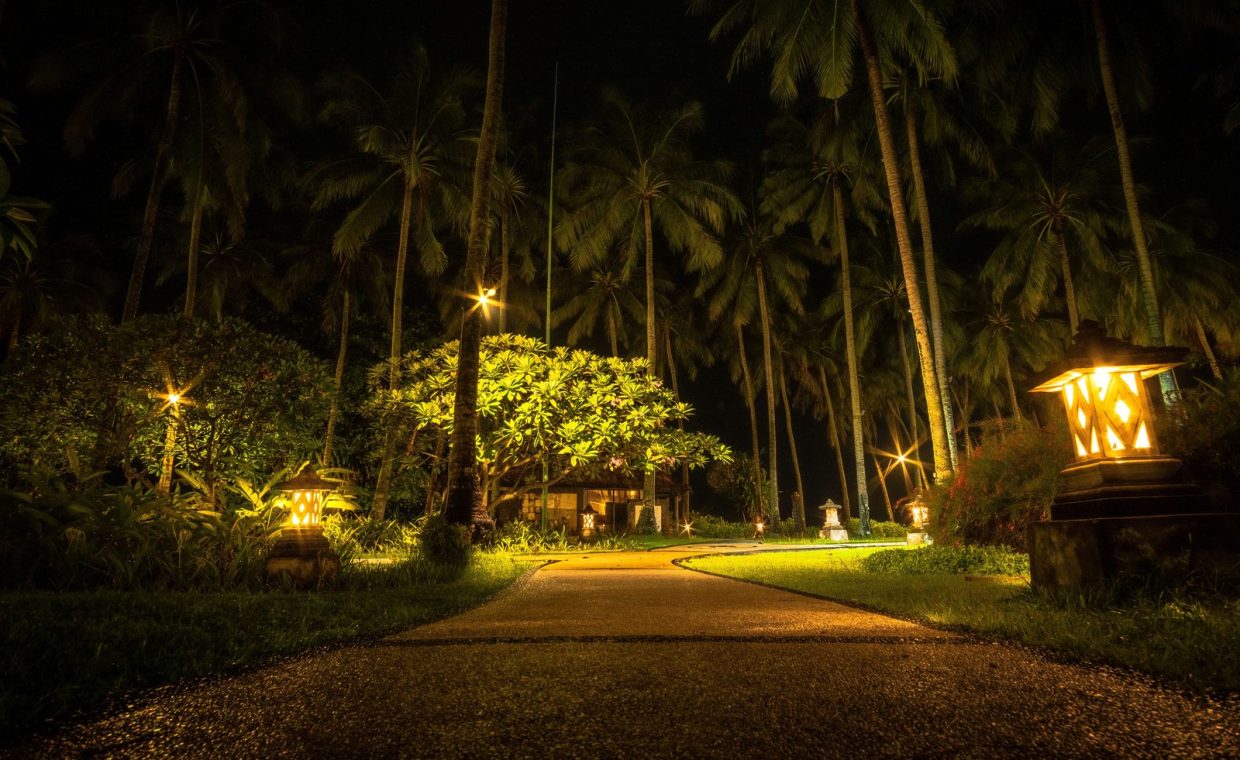
Last spring I stood in a client's backyard at dusk, watching her brand-new patio disappear into the dark by 8:15 p.m. The hardscape cost a small fortune, and nobody could see it after sunset. Two fixtures aimed at a maple tree and a soft wash along the path would have changed everything, and the whole add-on would have run less than the cost of the patio furniture.
That is the thing about lighting and irrigation. They are the finishing touches most people leave for "someday," yet they decide whether you actually use the yard you paid for. A low-voltage lighting setup and a basic sprinkler system together usually land somewhere around $3,000 to $9,000 installed, depending on yard size and how fancy you go.
I want to walk you through how to budget both, step by step, so your money lands where it earns the most enjoyment per dollar. Let's start with the planning that keeps you from overspending.
Map the yard and set a priority list
Before you price a single fixture, walk the property at night with a flashlight. Note where you trip, where you entertain, and which features (a tree, a stone wall, the front door) deserve a spotlight. This ten-minute exercise is the cheapest design tool you own.
Sketch a rough plan and rank zones by how often you use them. The patio and the front walk almost always win. The back fence line almost always loses, and that is fine.
Light objects, not the whole yard. Three well-placed fixtures on a focal point read as "designed." Twenty fixtures spraying everything read as "landing strip," and they cost three times as much.
Budget the low-voltage lighting system
Low-voltage (12-volt) lighting is the standard for residential landscapes because it is safer to install, sips power, and is easy to expand later. The system has three cost pieces: the transformer, the fixtures, and the wire plus labor.
Where the money goes
- Transformer: roughly $150 to $400 for a quality 150-300 watt unit with a timer or photocell.
- Fixtures: cheap plastic path lights run $15 to $30 each, while solid brass or copper fixtures that last decades run $80 to $200 each.
- Cable, connectors, and labor: typically $300 to $1,500 depending on trenching and how far the runs travel.
For a typical front yard with eight to twelve fixtures, a professional install usually lands around $2,000 to $4,500. A DIY kit for the same scope can come in near $600 to $1,200 if you are comfortable burying cable and balancing the load.
My honest advice from years of specifying these: buy fewer fixtures but buy good ones. Brass costs more up front and saves you from replacing corroded aluminum every few seasons.
I have pulled $18 path lights out of beds after two winters, hazed over and cracked. The brass units I installed eight years ago still look great. Spending $120 once is cheaper than spending $18 four times, and you skip the labor of swapping them.
Price the irrigation system
Irrigation pricing is driven mostly by zones. A zone is a group of sprinkler heads controlled by one valve, and your yard needs enough zones to water lawn, beds, and shrubs separately because they drink at different rates.
As a rough rule, expect roughly $2,500 to $5,000 for a professionally installed system on an average quarter-acre lot. Larger or more complex yards with many zones can climb past $6,000.
The line items that drive the total
- Per-zone cost: commonly $500 to $1,000 per zone installed, covering valves, heads, and pipe.
- Controller: a basic timer is $50 to $150; a smart weather-based controller runs $150 to $350 and trims water bills.
- Backflow preventer and permit: many municipalities require both. Budget $150 to $500 for the device plus $50 to $200 in permit fees, and a yearly backflow test in some areas.
- Drip lines for beds: often $300 to $800 added on, and worth it for plant health.
The biggest variable is your soil and whether the crew can trench cleanly. Rocky ground or a yard crisscrossed with tree roots can add a day of labor, and labor is where irrigation budgets quietly balloon.
Coordinate the trenching to save real money
Here is the move most homeowners miss. Lighting cable and irrigation pipe both need shallow trenches, so schedule both crews to dig at the same time, or hire one outfit that does both. Sharing the trenching can shave a few hundred dollars off the combined job.
If you are also planning a deck or other hardscape, sequence it carefully. You do not want to run lines and then tear them up. The same coordination logic that protects a build appears in our guide to new deck cost, where staging the trades in order keeps the budget intact.
Run lighting and irrigation lines after grading and hardscape framing but before final sod and mulch. Doing it out of order is the single most common reason these projects go over budget.
Match lighting choices to your deck and siding
The materials around your fixtures change how the light reads and how long the install lasts. A composite deck reflects light differently than natural wood, and the warm tone of cedar can swallow a cool LED. If you are weighing surfaces, our breakdown of deck wood versus composite is a useful companion when you plan where step lights and rail lights go.
Be deliberate about where you aim fixtures near the house. Uplighting that washes a wall is gorgeous, but pointing a hot fixture at poorly sealed cladding can highlight flaws and, worse, trap moisture against the wall. The same water-against-the-wall danger shows up in our piece on siding water damage mistakes, so keep fixtures and spray heads angled away from the foundation and siding.
Build in controls and a maintenance cushion
Automation is cheap insurance. A photocell or astronomical timer on the lighting means you never run fixtures all night, and a smart irrigation controller skips watering when rain is forecast. Both pay for themselves over a few seasons through lower bills and longer equipment life.
Set aside a small annual cushion, roughly $100 to $300, for replacing a failed bulb, re-aiming heads, and winterizing the irrigation lines. In cold climates, a pro blowout in fall typically runs $75 to $150 and prevents cracked pipe that costs far more.
A modest, well-designed setup (eight to twelve quality light fixtures plus a three to four zone irrigation system) usually totals around $4,500 to $8,500 installed. Going DIY on lighting and hiring out irrigation can bring that closer to $3,500.
Should I install lighting or irrigation first?
Do them together if you can, since both need trenching. If you must choose, irrigation usually comes first because it ties into grading and planting, and you can add lighting cable in the same open trenches.
Is DIY low-voltage lighting realistic?
Yes, for most homeowners. The wiring is 12-volt and low-risk, so a careful weekend installer can handle a basic layout. Irrigation is more forgiving to leave to a pro because of backflow codes and permits.
How much can a smart controller actually save?
A weather-based irrigation controller commonly trims outdoor water use by 15 to 30 percent, which on a typical summer bill can mean real dollars back within a season or two.
Finishing touches are where a yard stops being a project and starts being a place you linger. Spend first on the zones you use nightly, buy fixtures and controllers built to last, and coordinate the digging so you pay for one trench instead of two. Do that, and your outdoor dollars keep paying you back every evening you step outside.