
Last spring I watched a neighbor spend her entire $12,000 backyard budget on a flagstone patio in week one. By July she had a beautiful patio surrounded by a weedy, half-dead lawn and no shade, and no money left to fix either. It looked like a furniture showroom dropped into a vacant lot.
That is the trap with backyard makeovers. The big, photogenic piece eats the budget, and the things that actually make a yard feel finished (lawn, lighting, a little greenery, a spot to sit in the shade) never happen. A backyard that you love is rarely one expensive thing. It is five or six modest things that work together.
The fix is to phase the work. You decide the whole plan up front, then spend in stages so each dollar lands where it adds the most value and the most everyday enjoyment. Here is how I would sequence it.
Map the whole yard before you spend a dollar
Before pricing anything, sketch the entire backyard on paper. You are not designing a single project. You are deciding where the patio, the planting beds, the lawn, and the gathering spot all live, so that phase three does not require ripping out phase one.
Walk the yard at the times you actually use it. Where does the afternoon sun hit? Where do people naturally stand at a barbecue? That tells you where shade and seating belong long before you commit money.
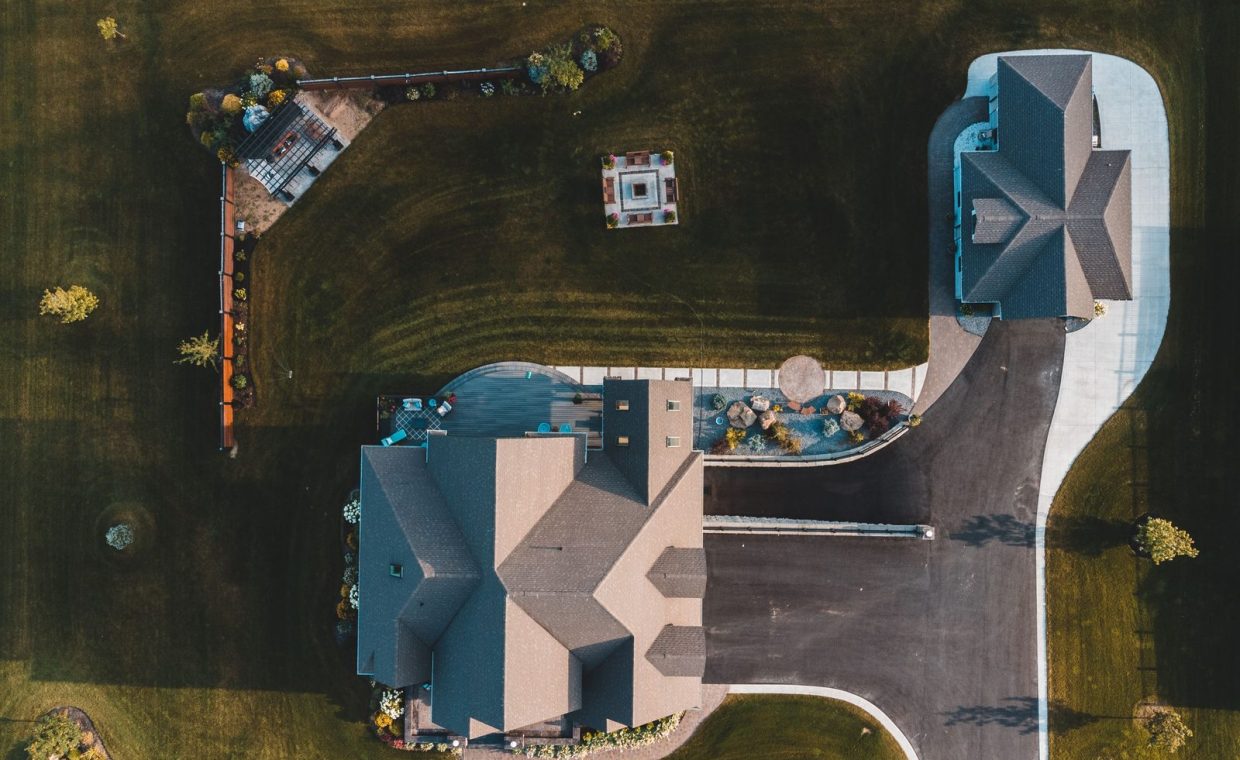
Photograph your yard from a second-story window or a ladder. The overhead view shows wasted corners and awkward sightlines that you cannot see at ground level, and it costs nothing.
If you want to spend smart, look at which improvements tend to pay you back. Our breakdown of which landscaping projects return the most value is a useful gut check before you fall in love with an expensive feature that adds joy but not resale.
Set a real number and split it into phases
Pick a total you can actually spend, then carve it into two or three phases spread across one or two seasons. Phasing is not a consolation prize. It is how you avoid the "blew it all on the patio" mistake and how you catch design errors cheaply before they get expensive.
A workable split for a typical suburban yard looks like this:
- Phase 1 (cleanup and structure): roughly $1,500 to $4,000. Clearing, grading, edging, and one hardscape anchor.
- Phase 2 (greenery and lawn): roughly $1,000 to $3,500. Beds, plants, mulch, and lawn repair or reseed.
- Phase 3 (comfort and detail): roughly $800 to $3,000. Lighting, shade, seating, and the finishing touches.
Keep a 10 to 15 percent cushion in each phase. Yards hide surprises (buried concrete, bad drainage, a stump you forgot about), and that cushion is what keeps a small problem from stalling the whole plan.
Do the cleanup and grading first
This is the unglamorous phase everyone wants to skip, and it is the one that makes everything after it look intentional. Clear out dead shrubs, level the lumpy spots, fix the grade so water runs away from the house, and define clean edges between lawn and beds.
Costs here are mostly labor and hauling. Expect roughly $50 to $100 per hour for a crew, plus dump fees, and a single roll-off dumpster usually runs around $350 to $550. Fixing a real drainage problem (a French drain, regrading a low spot) can add $1,000 or more, but ignoring it will rot whatever you build on top.
Drainage is the single most common thing I see homeowners skip and regret. A patio that pools water or a bed that drowns your new plants will cost far more to fix after the fact than to do correctly in phase one.
Choose one hardscape anchor, not three
Hardscape (patios, paths, retaining walls) is where budgets quietly explode. The discipline here is picking a single anchor for now and leaving room for the rest later.
Material choice swings the price enormously. Here is a rough sense of installed cost per square foot:
- Poured concrete: roughly $8 to $18 per square foot.
- Gravel or decomposed granite: roughly $5 to $12 per square foot, often DIY-friendly.
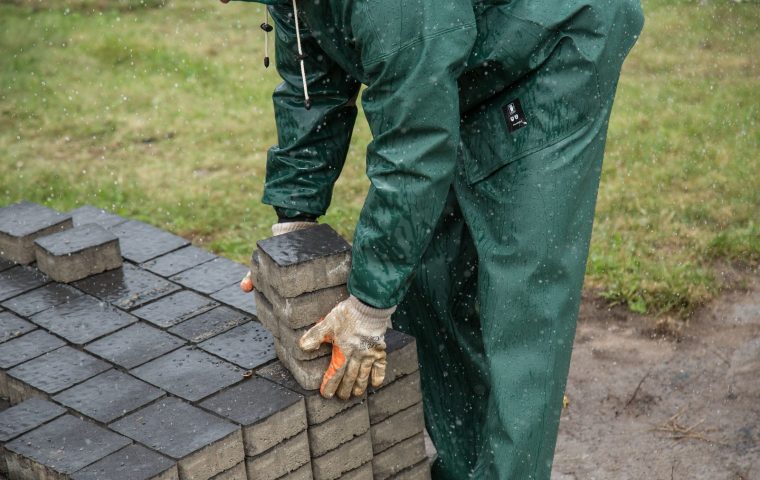
- Pavers: roughly $15 to $30 per square foot installed.
- Natural flagstone: roughly $20 to $40 per square foot installed.
So a 200 square foot patio is anywhere from about $1,600 in gravel to $8,000 in flagstone. That spread is exactly why you choose the material to fit the phase budget, not the other way around.
Where to save and where to spend
Save on the surfaces people walk across quickly, like side paths, where gravel is genuinely fine. Spend on the spot where you will actually sit and entertain, because that is the surface you touch every day. A small, well-built paver patio beats a giant cheap slab every single time.
Bring in plants and lawn for instant payoff
Now the yard starts feeling alive. Greenery delivers the biggest visual change per dollar of any phase, which is why I love it as phase two.
Buy young plants and let them grow in. A one-gallon shrub at $12 to $25 becomes the same plant as the $80 five-gallon version in two seasons, and you can fill three times the bed for the same money. Mulch is cheap insurance, usually around $35 to $60 per cubic yard delivered, and it makes new beds read as finished immediately.
For lawn, reseeding a patchy area runs roughly $0.10 to $0.20 per square foot in materials, while sod for instant green is closer to $1 to $2 per square foot installed. If color is your goal, paint helps too: even refreshing a tired fence or shed using guidance from our exterior painting cost breakdown can lift the whole yard for a few hundred dollars.
Shop end-of-season clearance at nurseries in early fall. Perennials and shrubs are often half off, they establish beautifully in cool soil, and you bank the savings for phase three.
Finish with light, shade, and seating
The final phase is what turns a nice yard into one you actually use after 6pm. It is also the phase most people never reach, because they spent the comfort money on hardscape.
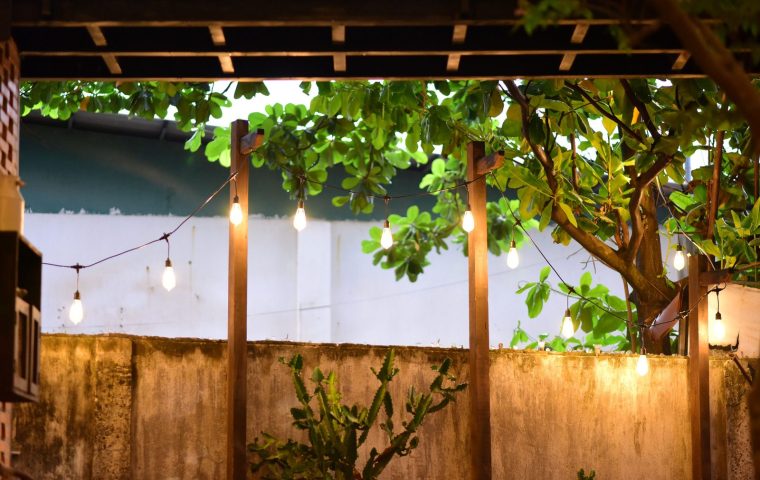
Low-voltage path and accent lighting is one of the best value moves out there. A starter kit with a transformer and several fixtures runs roughly $200 to $600, and the effect after dark is dramatic. For shade, a quality market umbrella sits around $150 to $400, while a built shade sail or pergola climbs into the $1,500 to $5,000 range depending on size and material.
Seating can be thrifty or splurgy. A simple gravel pad with a fire bowl and a few weatherproof chairs can land under $800 and instantly becomes the spot everyone gravitates toward.
Knowing when to phase up to a big-ticket feature
Some dreams are simply their own project. If a pool is on your list, do not try to wedge it into a makeover budget. A real inground pool installation typically starts well into the tens of thousands, and shoehorning it in is how people end up with a half-finished yard and a financed hole.
Treat features like that as a separate, future phase with their own plan. The phased approach gives you a finished, enjoyable yard now and a clear runway to the big feature later, instead of a construction site that drags on for years.
How long should a phased backyard makeover take?
Most homeowners spread it across one to two growing seasons. Cleanup and hardscape in spring, planting in fall, and comfort details the following spring is a common, comfortable rhythm that also lets each phase settle before the next.
What is the single best dollar-for-dollar improvement?
Clean edges plus fresh mulch and a few well-placed plants. For a few hundred dollars you can make a tired yard look cared-for, and it buys you time to save for the bigger phases.
Should I hire a designer or do it myself?
For a modest yard, a one-time consult (often $150 to $500) gives you a master plan you execute yourself over time. That small fee usually pays for itself by preventing the expensive "rip it out and redo it" mistakes.
Phasing a backyard is really just patience with a plan attached. Map the whole thing, fix the bones first, then let greenery and small comforts do the heavy lifting while your budget recovers between rounds. Do it in the right order and the yard feels finished at every stage, not just the last one. See you out in the garden.